New Jersey might not be the home to one of Disney’s many theme parks or resorts, but this month it is home to one of the coolest Disney-themed exhibitions that might have ever been created.
Deep within The Garden State, on the border of New York’s Hudson River, there is a 300,000-square-foot learning center known as Liberty Science Center.
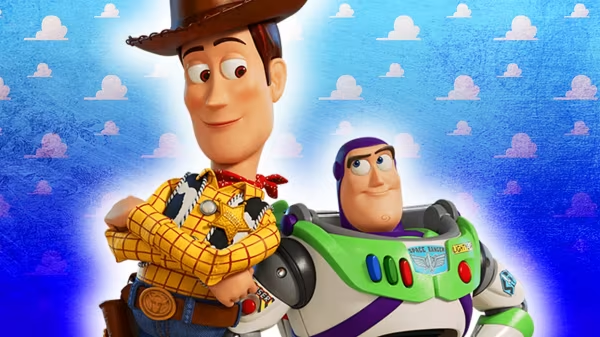
Every few months they introduce a new, specially themed exhibit for visitors to explore. The latest exhibit is titled “The Science Behind Pixar.” Through the in-depth experience you’re able to explore just how artists and computer scientists at the Disney-owned studio created some of cinema’s most iconic animated characters and award-winning films.
Now, recently I was given an opportunity to check out the exhibit, and in this overview I’m going to share (and show) all of the cool things I learned along the way.
READ: How ‘Finding Nemo’ Almost Became Pixar’s “First Bad Movie”
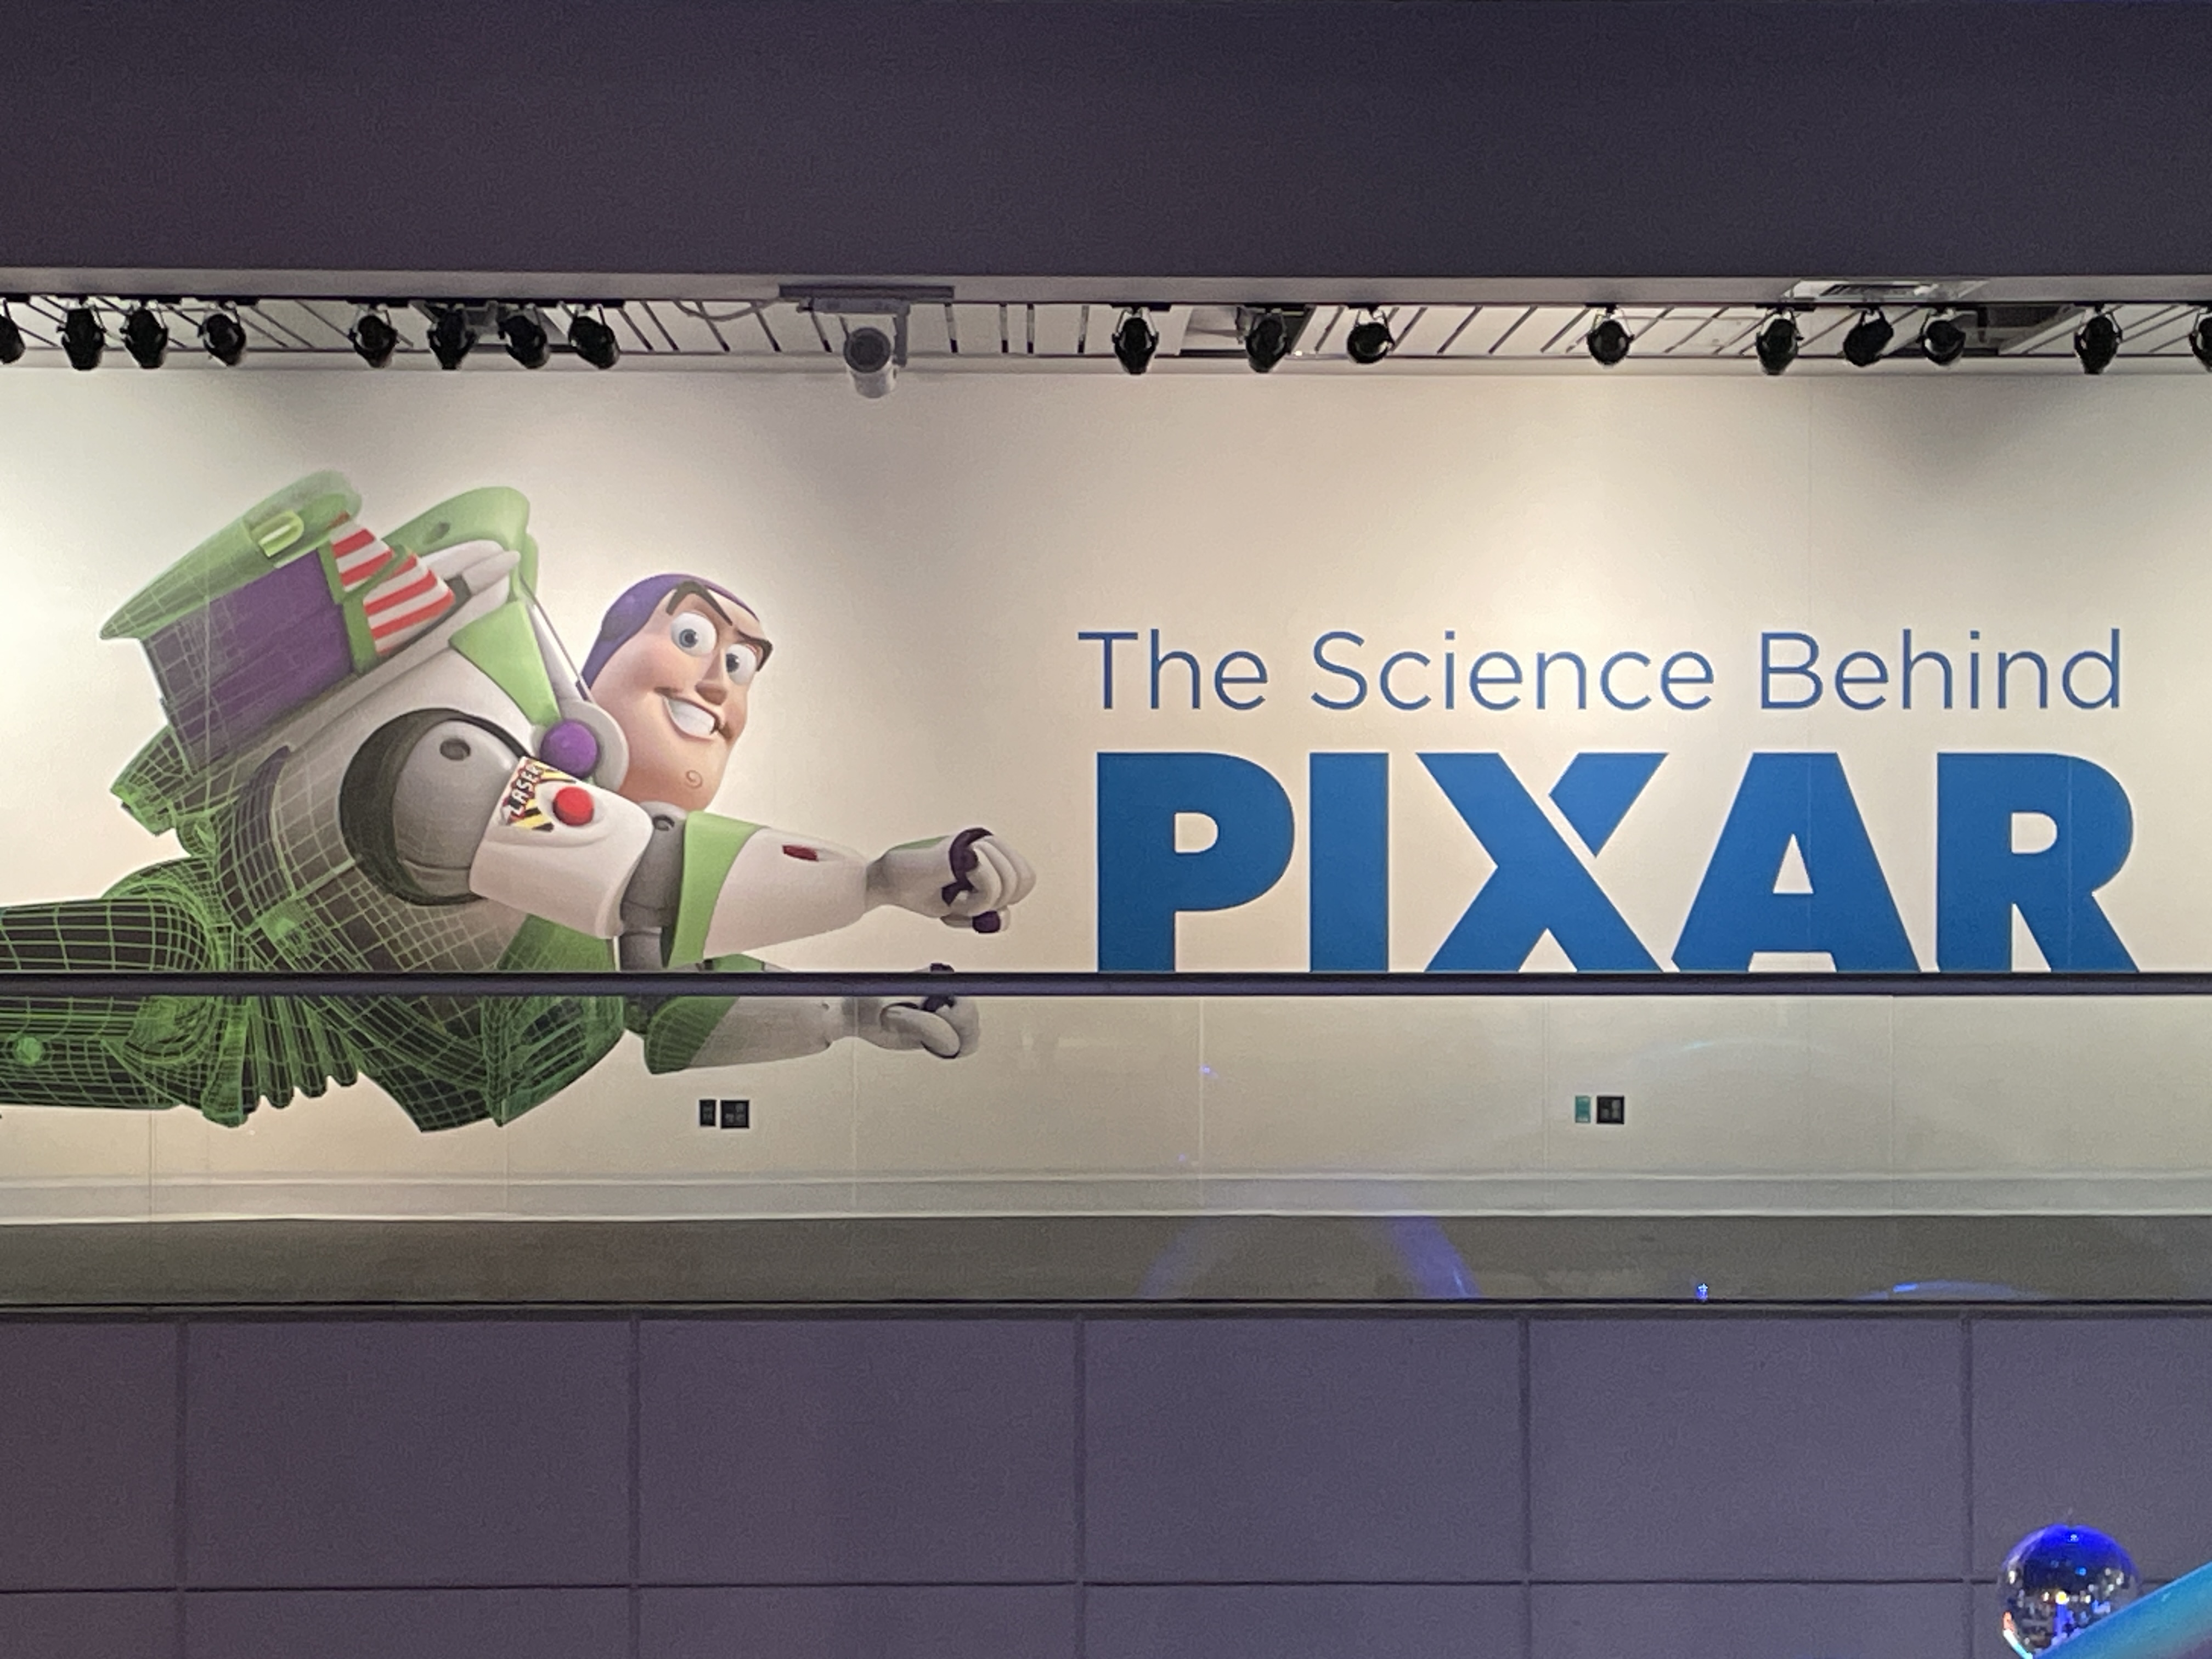
Now, before you even enter the exhibit, you’re greeted by this incredibly cool wall art. Believe it or not, it’s just a tease of what’s to come.
After you enter the exhibit, you’re seated to watch this 10-minute movie which breaks down the actual basics of how Pixar movies are made. It consists of 9 majors steps:
- Story and Art
- Modeling
- Rigging
- Detailing Surfaces
- Creating Sets and Angling Cameras
- Animation
- Simulation
- Lighting
- Rendering
Through the film you also learn how each film Pixar has ever done has presented a new challenge for its creatives. For example, with A Bug’s Life they were learning how to animate grass as they were going. With Cars, they discovered that there were certain challenges to lighting metal surfaces properly. (The exhibit touches on all of these things too).
READ: ‘TOGETHER: a Pixar Musical Adventure’ Review: Pure Musical Magic!
Once the film ends, you’re invited to several stations where you can literally try to create film elements the same way Pixar’s artists do.
Now, the one thing notably missing from the exhibit is a “Story and Art” section, and the introduction video sort of explains why. It’s the same reason why many of Pixar’s projects are kept so close to the vest. The story and characters are brainstormed behind closed doors. It isn’t until the filmmakers are absolutely ready to bring a film to life that they begin the other processes.
MODELING

There are quite a few hands-on challenges that attendees get to participate in that you really allow you to understand just how difficult and fun working at Pixar can be. The first thing you’re asked to do is plot points on a three-dimensional grid in order to create a character from scratch. While it seems easy, it’s pretty hard. So hard, that I couldn’t even keep my camera straight while doing it. See below:
The good news is that this is actually as hard as it gets. Immediately after, you’re tasked with actually creating a model – but not from scratch. Instead, you’re given several magnetic shapes and instructed to put them together to create a robot. But not just any robot, you get to choose from some of the characters in Wall-E.
After doing it physically, you’re shown just how each character is comprised of the most basic shapes.


Immediately after, there’s an exercise where you can play with different shapes and see how they have been used in some of Pixar’s past projects.
Then you’re given a tease of how those shapes are refined through a process called subdivision.

But this section isn’t complete without you trying to create models of your own with pre-made virtual building blocks.
Immediately after, you’re treated to a beautiful display featuring models of some of Pixar’s most iconic characters. And I managed to snap a photo of quite a few:


RIGGING

Next up was the “Rigging” section. In case the photo above doesn’t make it entirely clear, rigging basically determines how a character moves. While that is, by definition, animation, it’s not to be confused with the process of animation that Pixar does. More on that later.

In this particular part of the exhibit you’re given a chance to see just how fluid a character’s movement can be.
There’s also a neat subsection where you can see all the unique details that go into making a character show emotion in their faces.

You can see how easy it would be for Pixar to create pure nightmare fuel.
SURFACES

The “Surfaces” section really hones in on how Pixar differentiates its characters from one another. Up top, you can see how even the slightest color change could transform a character entirely. It also shows how many of the same shapes have been used in different films, but in completely different ways.
Creating Sets and Angling Cameras
In this next section, you’re given a glimpse into the role that models play in creating sets. You’re also given the opportunity to play with some pre-made models, and use perspective to create your own set.
While it looks fairly simple, in the subsequent station you’re shown just how intricate some of the details of set design can be. Using A Bug’s Life as an example, you’re challenged to design a field of grass using different variables.

Here you can see how much work goes into choosing an appropriate texture and color.
Animation
Next up, you get a look at arguably the most important of the process: “Animation.”

You can even create your very own stop-motion film starring the iconic Luxo Jr.!
At the Computer Animation Station you can see how a completed model is designed to interact with other models in its environment.

Where the rigging process showed how characters bend, twist, and stretch, here you’re shown how animators use those movements to create more complex interactions. As you can see in the next interactive section below, there are several other factors to consider in how something like a character’s arm moves.
Simulation

In the next section, you learn about the algorithms that are applied to scenes to make the little details seem more realistic. In this Finding Nemo-themed portion get a chance to play around with a pre-set algorithm to control a school of fish.
Next up, you can see how a similar algorithm can impact how hair moves and flows in a scene in Brave.
Lighting

In the pen-ultimate section you get to explore the meticulous process of lighting an animated scene. Through a single still from Cars 2 you’re shown how complex the lighting process can be, and how lighting a scene properly can create help create a more realistic, fully immersive. narrative.

You’re given a mini set to play with to show you just how easy yet effective it is to change the mood of a given scene. That is, with the right lighting.
Rendering
By definition, to render means “to make or generate.” So that should give you an idea. In the brief last section, you’re shown how it all comes together in the “Rendering” process.
While rewarding, you’re reminded of how painstakingly long the process can take. In fact, as the last slide shows, it can take up to 75 hours to render a single frame!
Before you go, you’re given a recap of each of the processes using Luca as an example.
And that’s it!
Now, while this exhibit can currently be found in New Jersey, it’s important to note that it does travel. It’ll come to an end at the Liberty Science Center in early May, before debuting in Madrid shortly after.
For more info about the exhibit or to find out if it’ll be appearing in a city near you, be sure to check out the website here.